

Next, trace your chosen phrase onto the felt with your disappearing ink pen. I went with "Love Ya", and used some basic letter stencils to trace it onto my guidelines. Now it's time to cut out your letters. I used my Martha Stewart craft knife to cut along the straight edges, then cleaned it up with craft scissors. **Note: Use firm pressure while cutting with the craft knife. Otherwise, you'll just pull your felt and make it stretch, leaving a not-so-pretty edge to your letter.
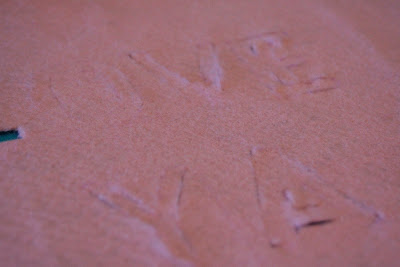
 Ta-da! Be sure to save the inner portions if letters require them, as in the "O" and "A" above.
Now, you're ready to add the contrasting felt. Trim felt to fit within the borders of your pillow. Apply felt glue to the wrong side of the pillow front around the cut edges of your letters.
Then, apply your contrasting felt piece and allow to dry.

Add inner portions of letters with glue, and add extra glue around letter corners. It should look something like this when you are done.

Next, cut a three-inch wide section of felt for the side portion of the pillow. The length will depend on how large your pillow will be. Mine was about 40 inches long for a 10x10 pillow.
 Beginning at the pointed end of the heart, pin the felt strip to the wrong side of the fabric. Join the ends with a straight stitch.
 Using a straight stitch, sew around the edges of the heart using a 1/4 inch seam allowance.
Repeat for the pillow front, pinning right sides together along the edge. You want your pillow front to hug the inside of the pillow back after pinning (see picture).

Sew the seam with a straight stitch, being careful to not catch the pillow body fabric in the process. Leave a two inch opening to allow for turning and stuffing.
Now turn that baby inside out and fill generously with polyfil. Use a needle and coordinating thread to close opening with mattress stitch.
Enjoy!


1 comment:
Too darn cute!!!
Post a Comment